| |
Back | Contents | Next
Preparing a KBr Disk Sample
If a high pressure press are available, the IR spectra of solids are conveniently recorded as KBr disks. The finely ground solid sample is mixed homogeneously with finely ground, oven-dried, KBr and the mixture is then pressed into a glassy pellet that is affixed to a paper template. The resulting IR spectrum is exclusively that of the sample compound.
Preparing the Sample and Assembling the Press Die
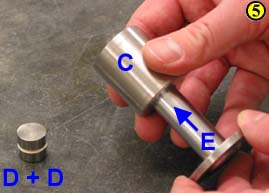
The die set consists of five pieces, labeled A-E as shown below. Never force the pieces together. If any of the metal parts do not slide together easily, contact your T.A.

- Grind together a few mg of the solid compound with about 30 - 40 mg of oven dried KBr (use a small mortar and pestle) until a fine powder results.
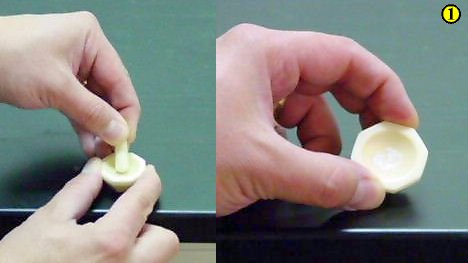
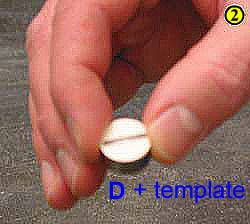
- Place a circular paper template on top of one of the metal pellets D (polished side up, towards the sample).
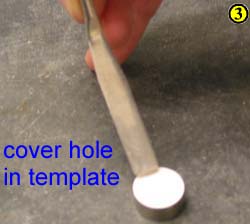
- Add enough powder to fill the hole (make a mound) in the template.
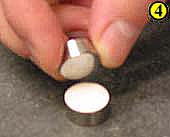
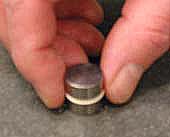
- Place the second pellet D on top (polished side down, towards the sample).
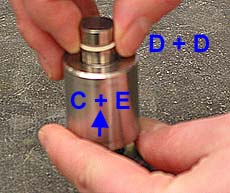
- Place E into C so that the smoothest side is up (i.e., inserted into C) and raise E inside the barrel so that it is flush with the top surface of C. Carefully transfer the sandwich of the two pellets D (prepared as described in steps 1-4) so that they rest on top of E as it lies flush with the top surface of C.
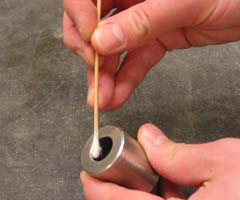
- Use a cotton-tipped applicator to gently wipe the walls of the pellets; the powder may otherwise smear and jam the die as pressure is applied.
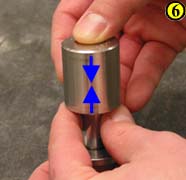
- Slowly lower the die piston E until the top pellet is recessed inside housing C. Gently tap the side of the die (C) to evenly distribute the KBr between the pellets.
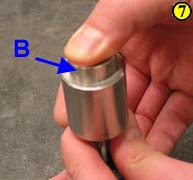
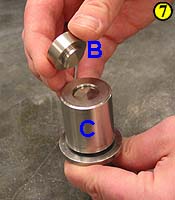
- Place B on top of the assembly, checking that the raised portion fits properly into the hole.
- Add housing A.
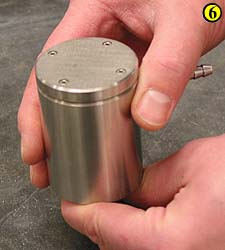
- Carefully hold the assembled die together and invert it so that it is upright.
Pressing the Pellet
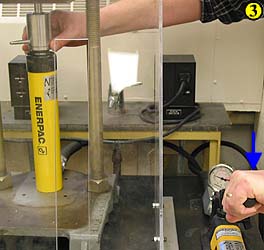
The hydraulic press and its components are shown below:
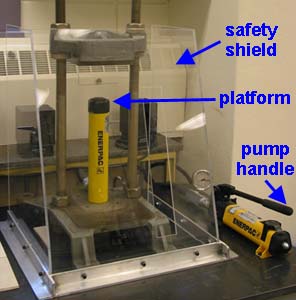
The pneumatic press can exert extremely high pressures (>20,000 psi) and must be used with caution. If the die is at an angle, it could shoot out of the press with a velocity high enough to injury someone. For this reason, you must place a safety shield in front of the press when applying pressure. |
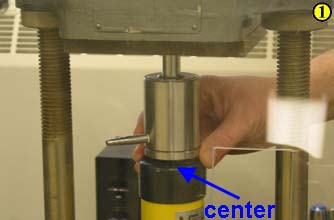
- Place the assembled die in the pneumatic press, checking that it is aligned exactly in the middle of the press platform. Contact your T.A. if the platform height needs adjusting.
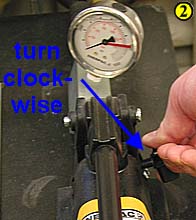
- Check that the pressure-release knob is closed (clockwise, finger-tight only).
- Hold the die in place initially as you pump the platform upwards; once pressure is applied, release your hold on the die.
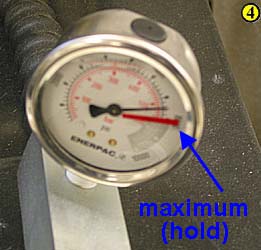
- Continue pumping the handle until you reach the maximum mark on the dial.
- Hold the pressure for several minutes, and then gently release it by turning the pressure-release knob no more than 1/4 turn counter-clockwise; if you turn the knob too far, hydraulic oil may begin to leak out.
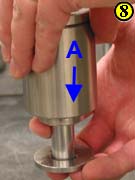
- Invert the die assembly (so that the exposed part of piston E is at the bottom).
- Remove the housing A to expose the die and remove the base B.
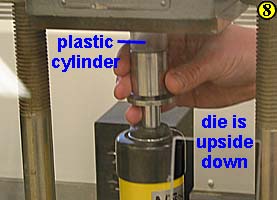
- To release your paper/KBr disc from the die, place a cylindrical plastic piece on top of C, and gently apply pressure to force the pellets and paper/KBr disc out (i.e., little or no pressure should be registered on the dial - the plastic cylinder will shatter explosively if you do this incorrectly). Hold onto the die as you do this so that it doesnt fall over and potentially damage the paper/KBr disc.
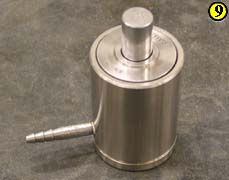
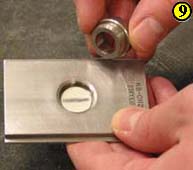
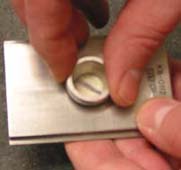
The completed paper/KBr disc should look like this:

- Place the completed paper/KBr disc in the holder so that the glassy KBr portion is centered on the opening. Screw down the holder cover.
- Record the background.
- Record the spectrum.
- Clean the die and press thoroughly when you are finished (KBr can be corrosive to stainless steel if left in prolonged contact). Use cotton-tipped applicators and Kim wipes to clean all residue from the die pieces. Distilled water can be used to rinse the metal pieces (providing that no one else will be preparing a KBr disc later in the lab period), but they should be thoroughly dried after use. Do not use acid or metal tools that could scratch the polished surfaces - a new die set costs roughly $500!
A Few Practical Problems to Watch For
- the most common problem encountered with this method is that the pellet is not glassy enough, which results in scattering of the IR radiation and poor spectral resolution
- if there is too much solid mixed with the KBr, this may be manifested by a baseline that does not fall near 100% and/or peaks going off scale
- if there is too little solid mixed with the KBr, the spectrum may not register many peaks above the baseline
Top
Back | Contents | Next
(Thanks to IIP student June Ng for generating the images used in this part of the tutorial)
|
|